You’ve just gotten into keyboards and come across those sleek, stunning custom mechanical keyboards online. Maybe you’re wondering if it’s possible to build your own. The truth is, it might not be as intimidating as you might think. In the keyboard building guide below, KEMOVE will walk you through the keyboard building tools you need and the keyboard building steps to create your own one-of-a-kind keyboard, from selecting switches to testing your final build.
The Components of a Mechanical Keyboard
Before diving into the keyboard building steps, it's important to understand the basic components that make up a mechanical keyboard:
- Keyboard case
- Printed Circuit Board (PCB)
- Plate
- Keycaps
- Switches
- Stabilizers

Essential Tools for Building a Keyboard
Having the right keyboard building tools can make the entire process smoother and less time-consuming. Here’s a list of must-have items:
- USB cable
- Soldering iron
- Keycap puller
- Switch puller
- Tweezers
- Precision screwdriver kit
- Switch lubing tools (switch opener, brush, lube) (optional)
Keyboard Building Steps
Following the correct keyboard building steps is key to assembling a functional and personalized setup. Below is a simplified guide to help you build your own custom keyboard.
Step 1: Choose Your Keyboard Size
The first step to building a keyboard is choosing the right size. The right keyboard size depends on your workspace, needs and typing habits.
- A full-sized keyboard (104 keys) : A full-sized keyboard is the most versatile, as it meets a wide variety of needs, especially for those who use the numeric keypad.
- 96% keyboard (100 keys) : This is a more compact option, which retains the functionality of the full-sized keyboard while eliminating the extra space between the keys.
- 75% keyboard (84 keys) : If space is limited, this keyboard provides a good balance between compactness and usability, keeping the function row and arrow keys in the design.
- 65% keyboard (68-70 keys) : One of the most popular custom layouts. This design removes the numpad and function row but retains the arrow keys, making it compact without losing essential functionality. Highly recommended in many keyboard building guides.
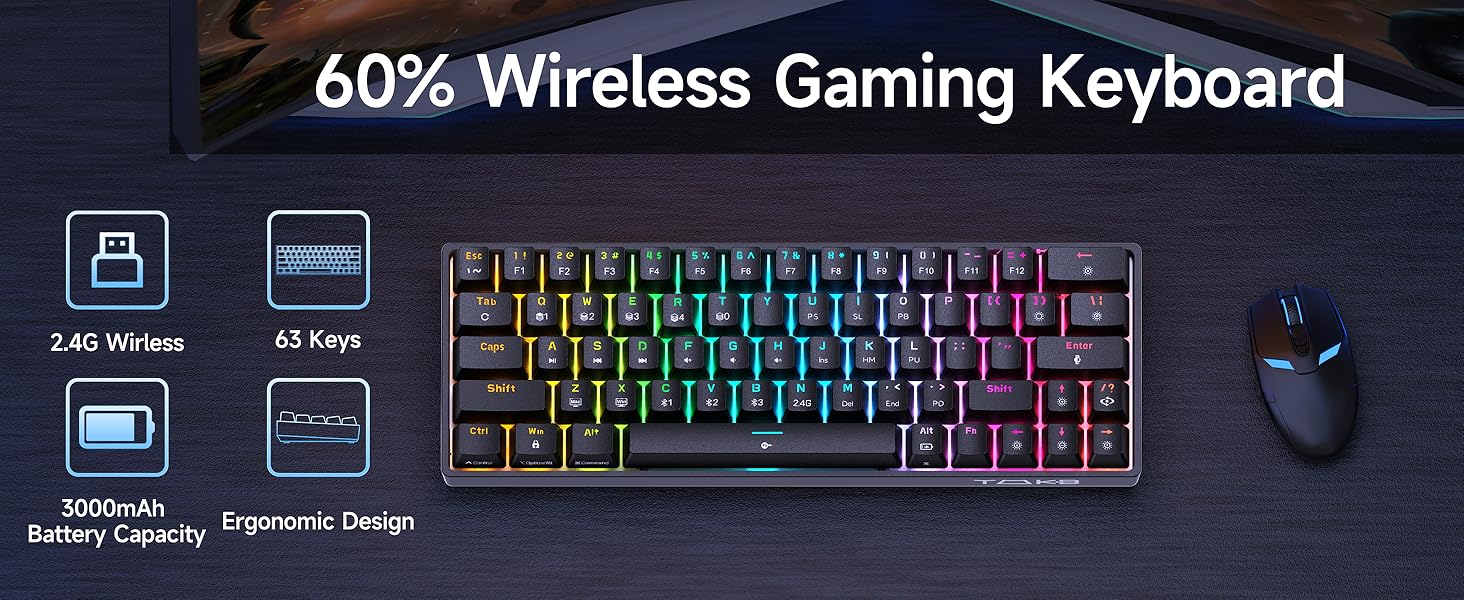
- 60% keyboard (61 keys) or 40% keyboard (40-45 keys) : For maximum portability and minimalism, you can consider the 60% keyboard or the 40% keyboard, but their functionality might be limited.
Step 2: Test the PCB
After choosing a size, ensure your PCB is functioning properly:
- Plug the PCB into your computer.
- Use a free online keyboard testing tool.
- Take a tweezer (one of the essential keyboard building tools) and gently test each switch contact on the PCB.
- Verify that each key registers correctly before proceeding.
Step 3: Lube Your Switches and Stabilizers
Lubing your switches is optional but a highly recommended step in our keyboard building guide. This process involves pulling apart every switch and applying a lubricant to the inside to reduce friction. Lubing can also help eliminate the "scratchy" feel that some switches may have, making your keyboard feel more comfortable to type on. However, you should avoid lubing clicky switches, because they can dampen the click noise.
In addition to lubing the switches, lubing your stabilizers (found on larger keys like the spacebar, Enter, Shift, and backspace) helps reduce rattle and improve the feel of these keys. Stabilizers often produce more noise and friction than individual switches, so lubing them makes the entire keyboard feel more consistent.
Step 4: Install Stabilizers and Switches
After lubing, it's time to install your stabilizers and switches onto the PCB.
- Stabilizers: Insert them into the designated slots on the PCB for larger keys, ensuring they’re securely in place.
- Switches:
- For hot-swappable PCBs: Align each switch pin with the socket and press until it snaps in.
- For non-hot-swappable PCBs: Solder each switch in place, heating the pins and applying solder to secure them.
For this step of the keyboard building process, you can choose from several types of switches:
- Linear: Smooth with no tactile bump or click, ideal for fast typists and gamers who prefer quiet, uninterrupted keystrokes.
- Tactile: Provide a noticeable bump when pressed, offering feedback without the loud click.
- Clicky: Emit an audible "click" at the actuation point, preferred by those who enjoy tactile and auditory feedback.
- Silent: These switches are designed to reduce noise, making them ideal for quieter environments or shared spaces. Silent versions are available in both linear and tactile varieties.
Once all switches and stabilizers are installed, test each one to ensure they are functioning before moving on to the next step.
Step 5: Assemble the Keyboard
This might be the most exciting part of our keyboard building guide—bringing all the parts together:
- Mount the PCB inside the case: Secure the PCB with screws, ensuring everything is properly aligned. Once everything is aligned and secured, you’re ready to add keycaps.
- Install keycaps: Choose the keycaps you’ve selected for your build, ensuring they are compatible with your switches (e.g. MX-style keycaps for Cherry-style switches). Press each keycap onto the corresponding switch stem. Verify they’re seated evenly and securely.
Step 6: Test the Keyboard
After putting your keyboard together, perform another test:
- Plug the keyboard into your computer.
- Use a keyboard testing tool to confirm each key is working as expected.
- Check stabilizers on larger keys to ensure they are rattle-free and smooth.
Conducting this final test is an important step of the keyboard building process to ensure everything is working properly.
Step 7: Enjoy Your Custom Keyboard
We’ve reached the final step of the keyboard building guide! Plug it into your computer, and enjoy the smooth, personalized typing experience you’ve created. If you ever feel the need to make adjustments in the future, you can always experiment with new switches, keycaps, or lubing techniques to refine your keyboard even further.

KEMOVE - Your Ultimate Guide to Keyboard Building
KEMOVE is dedicated to answering your questions about keyboard building, from what tools you need to build a mechanical keyboard to how to build your own. Just follow these simple steps in our keyboard building guide to create your very own customized keyboard. You can also browse our online shop to find high-quality materials and components you’ll need to bring your keyboard vision to life. With KEMOVE, building your dream keyboard has never been easier.

